How To Use
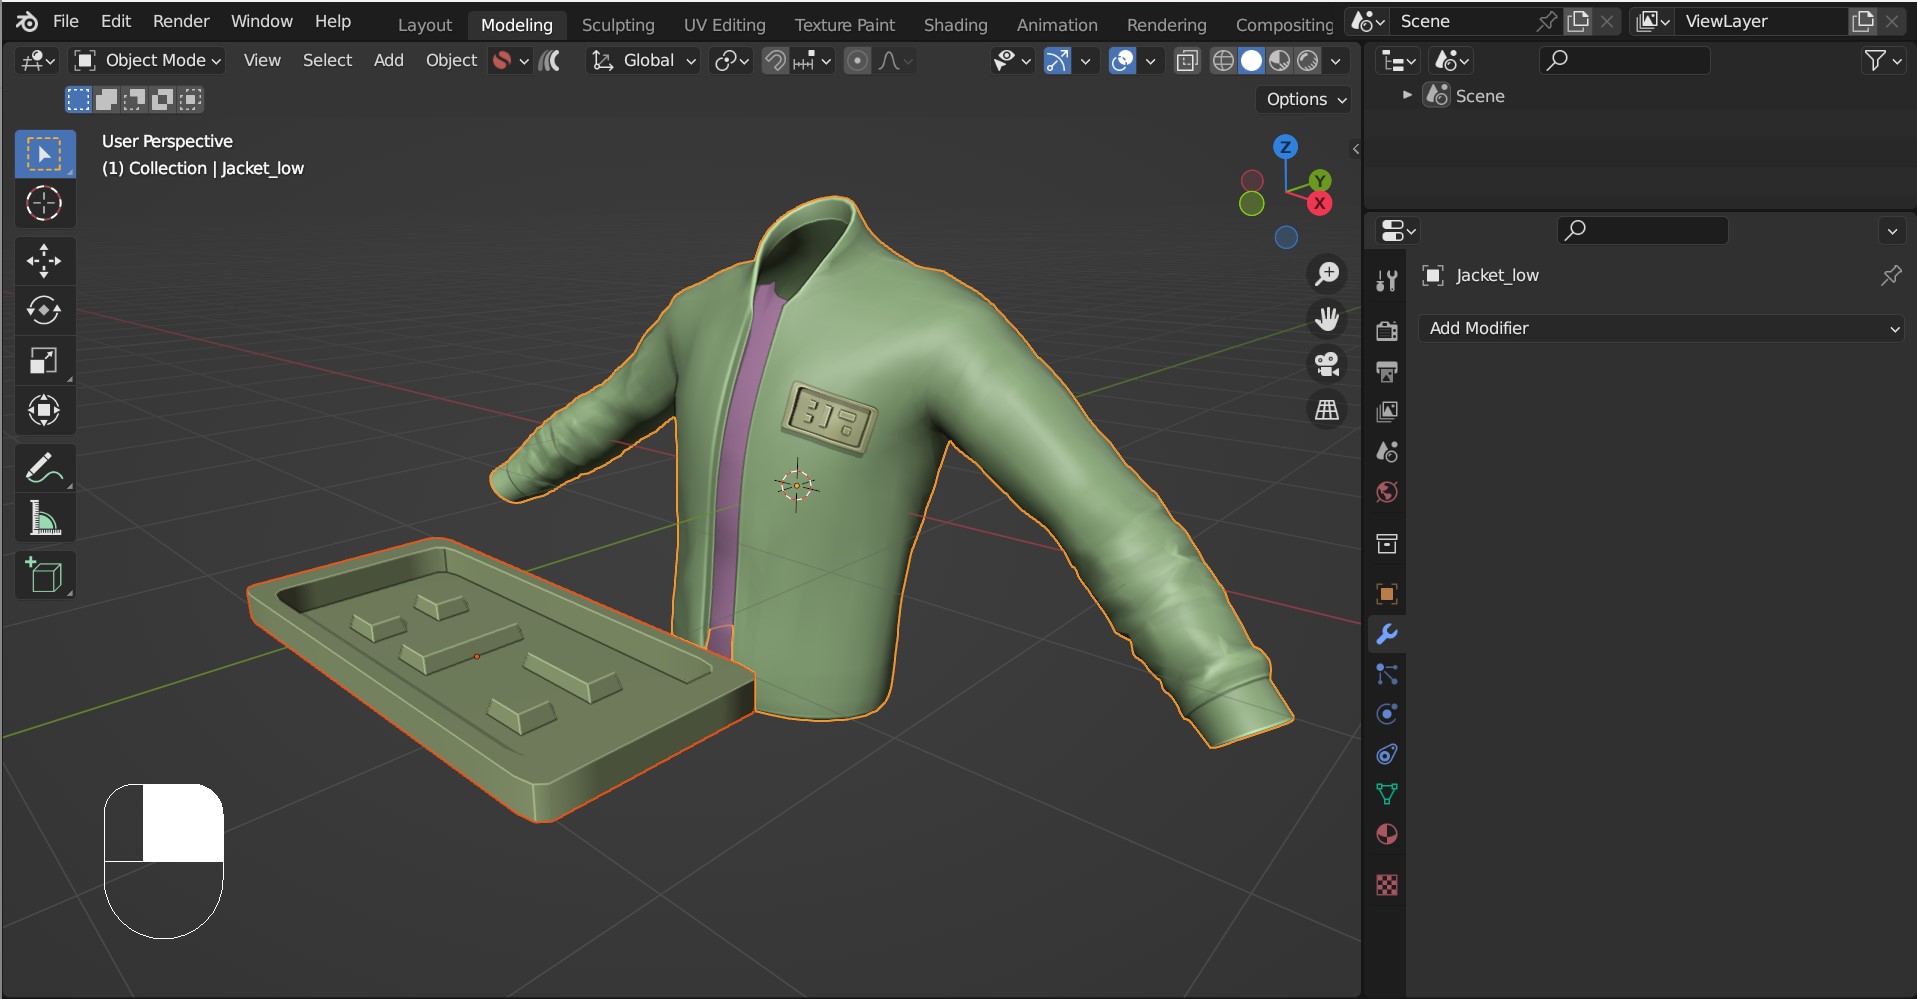
Here we will project a rectangular badge onto a Jacket:
Jacket Credit: Curtis Kinney
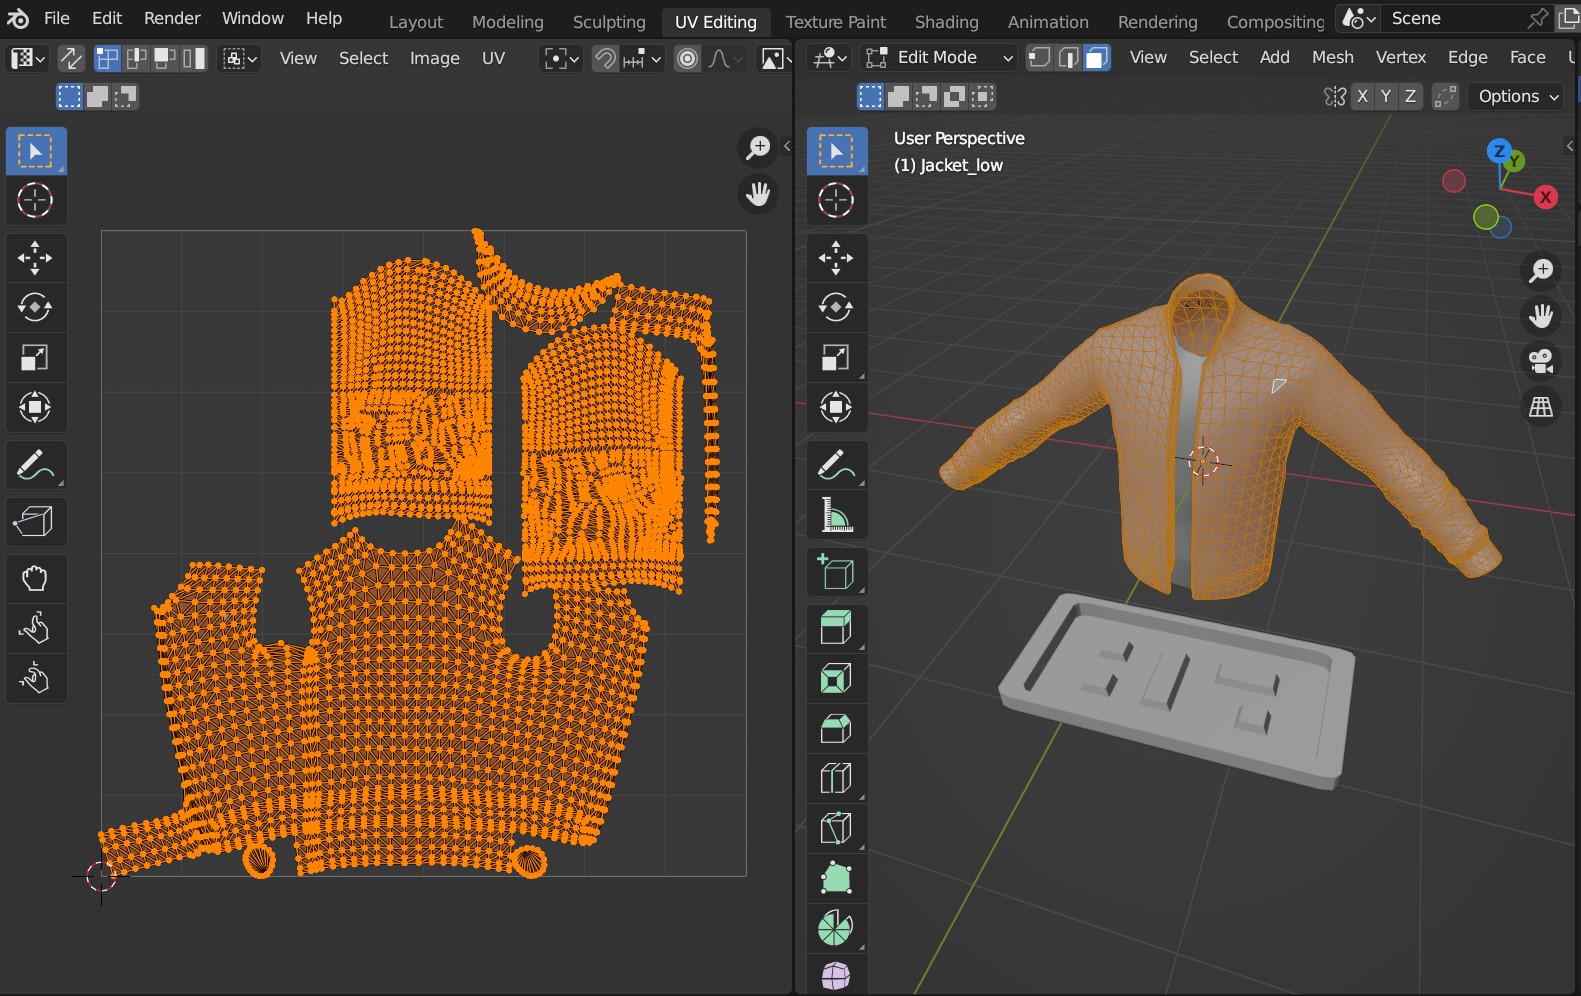
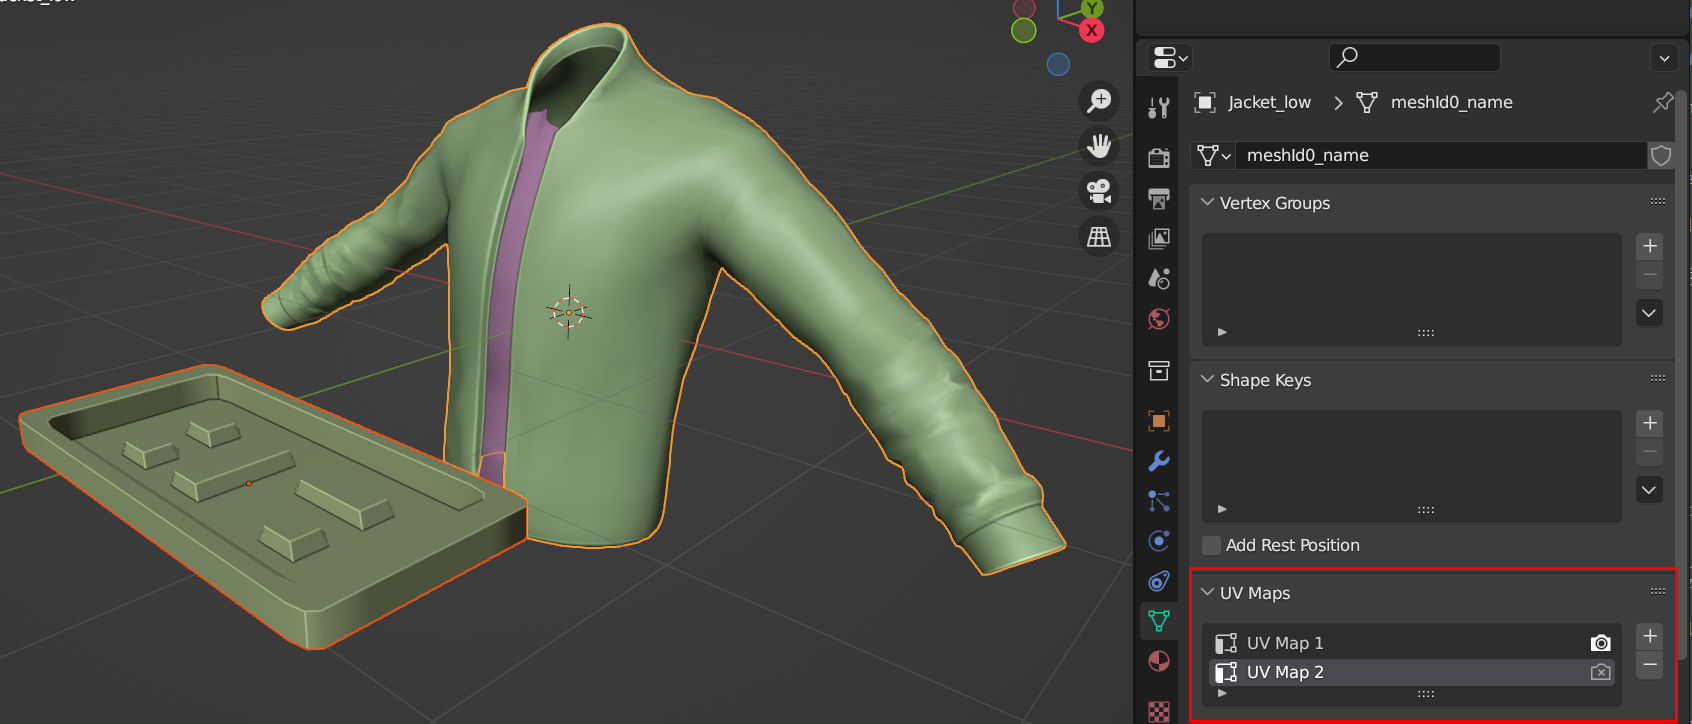
The Jacket’s UV Map.
Step by Step
In Blender, first select the Source Object (the object to be projected).
Warning
Ideally, Source Objects should:
Have a good level of topology so that they can be deformed (good number of vertices and quad faces).
Not have parents/children.
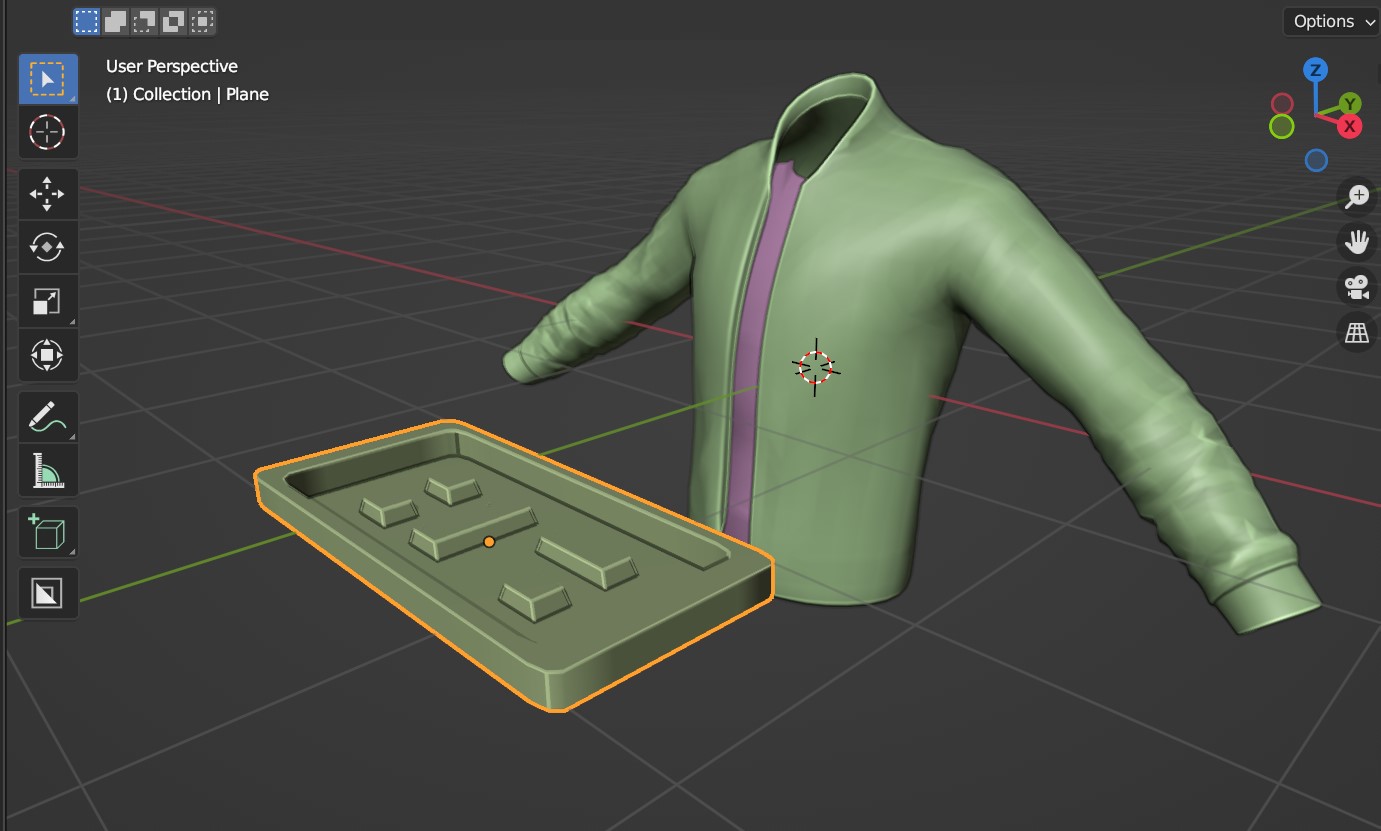
Then press shift and select the Target Object (the object we are projecting onto). Both objects should be selected.
Tip
The Target Object is expected to have at least one UV Map. Whichever UV Map is selected under the Object Data Properties tab on the right hand side will be used.
Warning
The Target Object’s UV Map needs to have non overlapping faces in order for the Add-on to work otherwise nothing may appear. For mirrored objects, see the Tips and Troubleshooting section for potential workarounds.
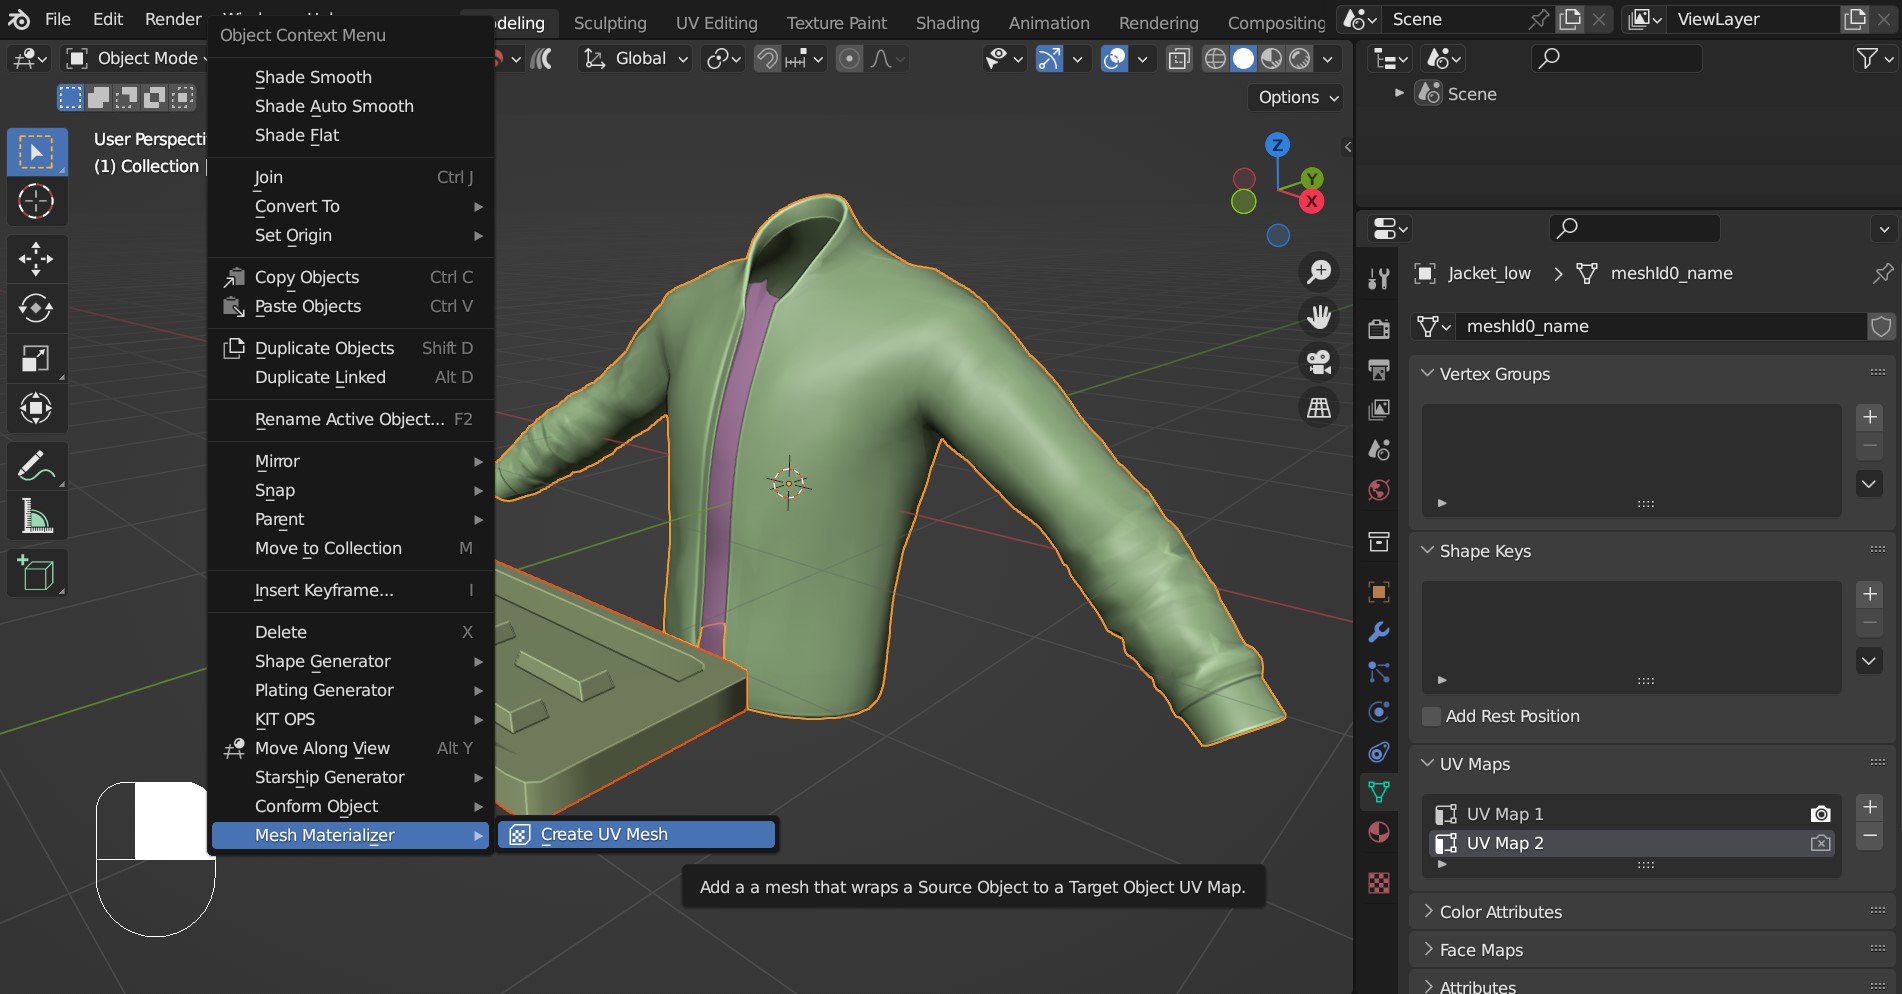
Right-Click in the viewport, and select Mesh Materializer - Create UV Mesh from the submenu that appears.
Tip
Access this option quickly by clicking the checkered box icon in the top menu bar of the viewport:

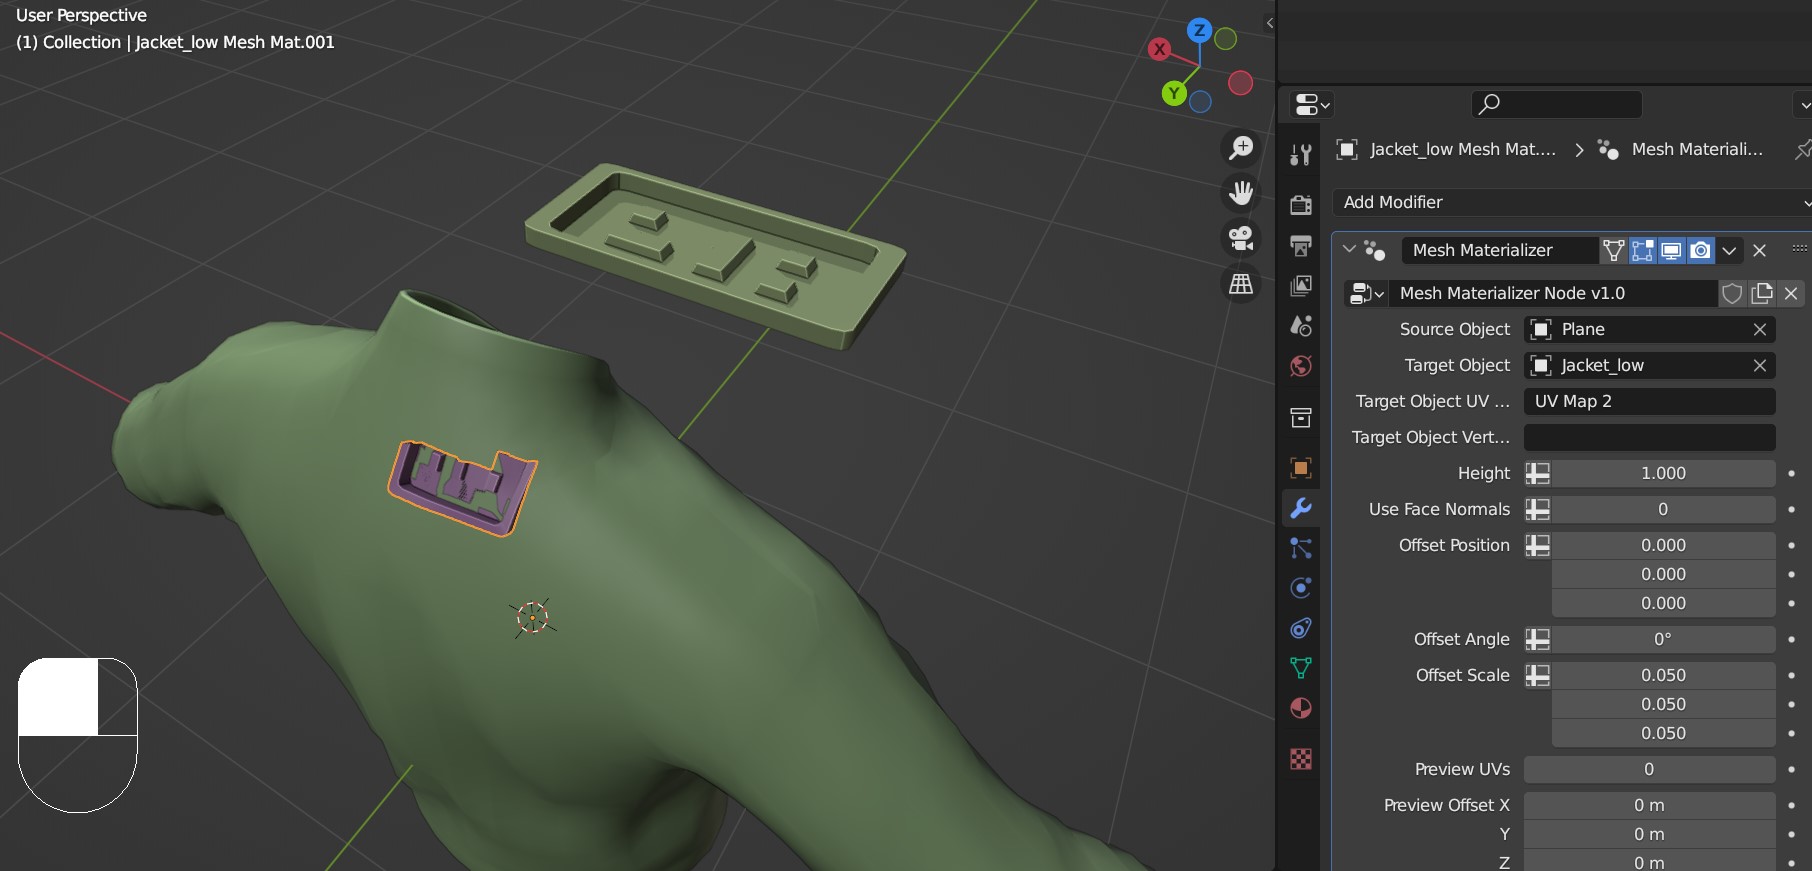
A new object will be created named “<Source Object Name> - <Target Object Name> UV Mesh” with the Mesh Materializer modifier added. Initially this new object may appear strange, because the Source Object has been stretched across the entire UV Map of the Target Object:

With the new object selected, switch to the Modifiers tab on the right hand side. Try reducing the Offset Scale parameter down to shrink the Source Object projection. In this case, the object appears on the back of the Jacket.
Notice that the badge edges are trimmed because they are on the boundary of the Jacket’s UV Map.
Tip
This can also be visualised by ticking the Preview UVs checkbox in the Mesh Materializer modifier. This will display the Target Object’s UV Map in the viewport with the Source Object projected onto it.
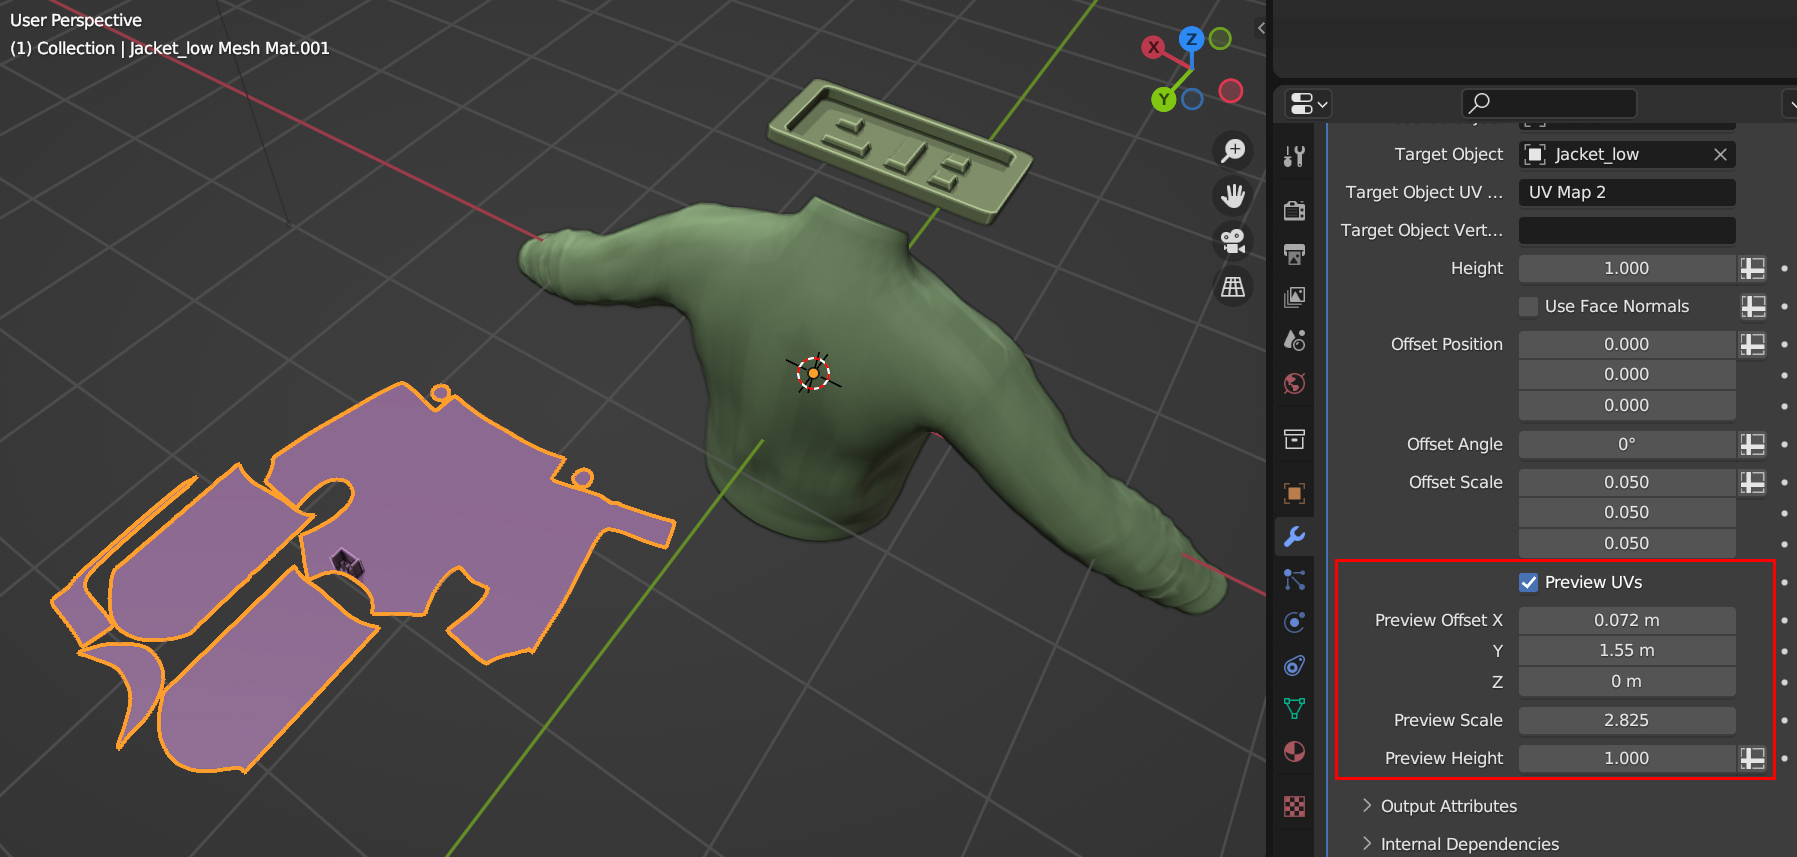
Here the Preview UVs mode is ticked, which switches on the UV Preview. The Source Object can be seen just on the edge of the UV island. Also, the Preview Offset and Scale parameters have been changed to move the preview object into view.
Unticking the Preview Mode if it isn’t already, change the Offset parameters to move the Source Object along the Target Object’s surface.
The Offset position and scale parameters are used to move the badge onto the front of the Jacket’s chest.
You can then make some finer adjustments: change the height of the object, move the object above the surface using the Offet Position Z parameter, and adjust the proportions of the object using the Source Scale parameter.
The Height, Offset Position and Offset Scale parameters are used to adjust the object position.
Explore the Options for the Mesh Materializer modifier further and do not hesitate to get in touch if you have any questions.
Tip
Remember that the new object will be updated if the Source Object or the Target Object are changed.